


Saturday, August 29, 2009
New Blog Wear is coming
I haven't posted a new set in a few days, but it doesn't mean I've forgotten! LOL! I have been busy preparing some new ones for September. I'm trying to put together some fall ones so you'll have lots of choices to decorate with! Keep checking back, because some fun things are coming! Also, if you want to receive updates, sign up for my Facebook Fan page (link is on the right.)
Friday, August 28, 2009
Customized Blogs
Everything you find on my blog here, is free. You are welcome to download, add your personal touch and use on your blog! If you want a more customized look, an animated header like you can see HERE and to have it all come together with very little work, please email me at ramona@browniescraps.com. For $15.00 I will help you create the look you want and do all the code for you. This includes a personalized header, personalized tags, personalized siggy that will automatically post with every post you write. You can choose a customized font and I will install it, you can choose from any kit I sale to have the blogwear come from, or you can send me your own product to create it with. If you are interested in this option, you will need to add me as an author and then admin so I will have the capability to work with the code. Once it's complete, you just go in and remove me. Contact me if you are interested.
Thursday, August 27, 2009
How to add your siggy
As you've noticed in each piece of blogwear I create, I have a siggy piece. I'm not sure how many know how to add this on, so I thought I'd write out the instructions! It's super easy!
First, unzip your download, after you pick the set you want. Open the siggy piece in any photo editing program. There are some free ones online, if you don't already have one on your computer. Gimp.com or paint.net are two of them.
Add your name to the siggy piece and save it. Upload it to any online photosharing account. I use photobucket! It's free and a great little site.
Then go into your blog and in the top right hand corner, click on customize. Next, look on the left hand side of your blog and find the link that says settings. Click on this and in the same top left menu options, find formatting.
Click and it will bring you to a menu. Scroll down to the very last item which has a box. Here is where you put in your siggy. You could always just type out your name here, but if you want to have some fun and use the customized siggy, just place the html code from photobucket and put it here.
If you want to center it at the bottom of your post, just add to the beginning of the code and at the end of the code. That's it! Click save and the next time you post something, you will have your cute little signature at the bottom.
First, unzip your download, after you pick the set you want. Open the siggy piece in any photo editing program. There are some free ones online, if you don't already have one on your computer. Gimp.com or paint.net are two of them.
Add your name to the siggy piece and save it. Upload it to any online photosharing account. I use photobucket! It's free and a great little site.
Then go into your blog and in the top right hand corner, click on customize. Next, look on the left hand side of your blog and find the link that says settings. Click on this and in the same top left menu options, find formatting.
Click and it will bring you to a menu. Scroll down to the very last item which has a box. Here is where you put in your siggy. You could always just type out your name here, but if you want to have some fun and use the customized siggy, just place the html code from photobucket and put it here.
If you want to center it at the bottom of your post, just add
Monday, August 24, 2009
Monkey Munch
Okay, I will totally admit that this blogwear won't appeal to everyone, but I still wanted to do it! I created this kit, "Monkey Munch" for one of the awesome mom's on my CT! She is a breastfeeding, cloth diapering, baby wearing mamma and she wanted a kit to use for a lot of those pictures. I chose the monkey theme because "monkey munch" is what we call our newest little addition! It's also what we call a favorite treat at our house (rice chex muddy buddies) so I hope we don't confuse the little guy too much!
Over the weekend, I ordered my first set of cloth diapers! I have wanted to do this for a long time, and I finally broke down and did it! I can't believe how excited I am for them to come! They should be here tomorrow! I promise to take pics of my own little monkey in his new diapers and post here.
So, in honor of that, I created today's blog wear! You gotta love little monkey's wearing cloth diapers! For this header, I even included a frame and a place to slide in a picture. This is so easy to use, just open it up, size your favorite picture down and slide it behind the header. You may have to adjust to fit, but resave and upload on to your blog! I would LOVE to see your blog, if you use this or any of my blog wear, so please link me up in the comments!
Also, Home Baked Blogs is now on Facebook and will be on Twitter soon! Join the fan page so you'll always know when a new set has been added!
Oh, and if you want to see more of the kit I used to create this, check it out HERE
Download the Header, tags and siggie HERE
Tag (also comes with boy monkey)

Header

Siggie Line

2 Column Blog:

3 Column Blog:

Over the weekend, I ordered my first set of cloth diapers! I have wanted to do this for a long time, and I finally broke down and did it! I can't believe how excited I am for them to come! They should be here tomorrow! I promise to take pics of my own little monkey in his new diapers and post here.
So, in honor of that, I created today's blog wear! You gotta love little monkey's wearing cloth diapers! For this header, I even included a frame and a place to slide in a picture. This is so easy to use, just open it up, size your favorite picture down and slide it behind the header. You may have to adjust to fit, but resave and upload on to your blog! I would LOVE to see your blog, if you use this or any of my blog wear, so please link me up in the comments!
Also, Home Baked Blogs is now on Facebook and will be on Twitter soon! Join the fan page so you'll always know when a new set has been added!
Oh, and if you want to see more of the kit I used to create this, check it out HERE
Download the Header, tags and siggie HERE
Header
Siggie Line
2 Column Blog:
3 Column Blog:
Saturday, August 22, 2009
Summer's Eve
This blogwear set comes to you from my portion of the August Collab in our store! Each designer made their own mini from these colors, and anyone who spends $10.00 or more in our store, gets the entire set of mini's for free! I had a lot of fun designing this mini, as well as using it to put together this blog set! The colors seem so perfect for those hot summer nights!
First, here is the Header, Siggie or divider line, and the matching tag!


Download HERE
Two Column Blog

Three Column Background

First, here is the Header, Siggie or divider line, and the matching tag!
Download HERE
Two Column Blog
Three Column Background
Thursday, August 20, 2009
Down by the Sea
I'm so sorry about missing yesterday. It was the first day of Jr. High for my oldest, the first day of 3rd grade for my 8 year old. The first day of homeschool for my 10 year old, and the first day of ballet for my 3 year old! Needless to say, the day started early and was hectic and crazy the whole day long!
I have a set for you today from a kit I designed to be released next month. So, when it is available in my shop, I will update the info here! In the meantime, feel free to download and enjoy! This will be great for your summer photos and stories from the beach!
Header

Siggy Line

Tag

Two Column Background

Copy and Paste the code into your add a gadget/html layout setting:
Three Column Background:

Copy and Paste the code into your add a gadget/html layout setting:
Download the Header and Siggie Line HERE
I have a set for you today from a kit I designed to be released next month. So, when it is available in my shop, I will update the info here! In the meantime, feel free to download and enjoy! This will be great for your summer photos and stories from the beach!
Siggy Line
Tag
Two Column Background
Copy and Paste the code into your add a gadget/html layout setting:
Three Column Background:
Copy and Paste the code into your add a gadget/html layout setting:
Download the Header and Siggie Line HERE
Tuesday, August 18, 2009
Dragonfly Summer
I'm hoping to get a few more blog sets done for summer, before I start on the fall and holiday ones! I'm amazed at how quick this summer is just flying by! For this blog set, I used my mini kit "Dragonfly Summer" which I created in June for my friend Leslie's birthday celebration. Leslie also works as a designer with me at Brownie Scraps.
2 Column Code:

3 Column Code:


Download header, tag and siggie line HERE
And if you like what you see, please leave some love! I always LOVE comments!!
2 Column Code:
3 Column Code:
Download header, tag and siggie line HERE
And if you like what you see, please leave some love! I always LOVE comments!!
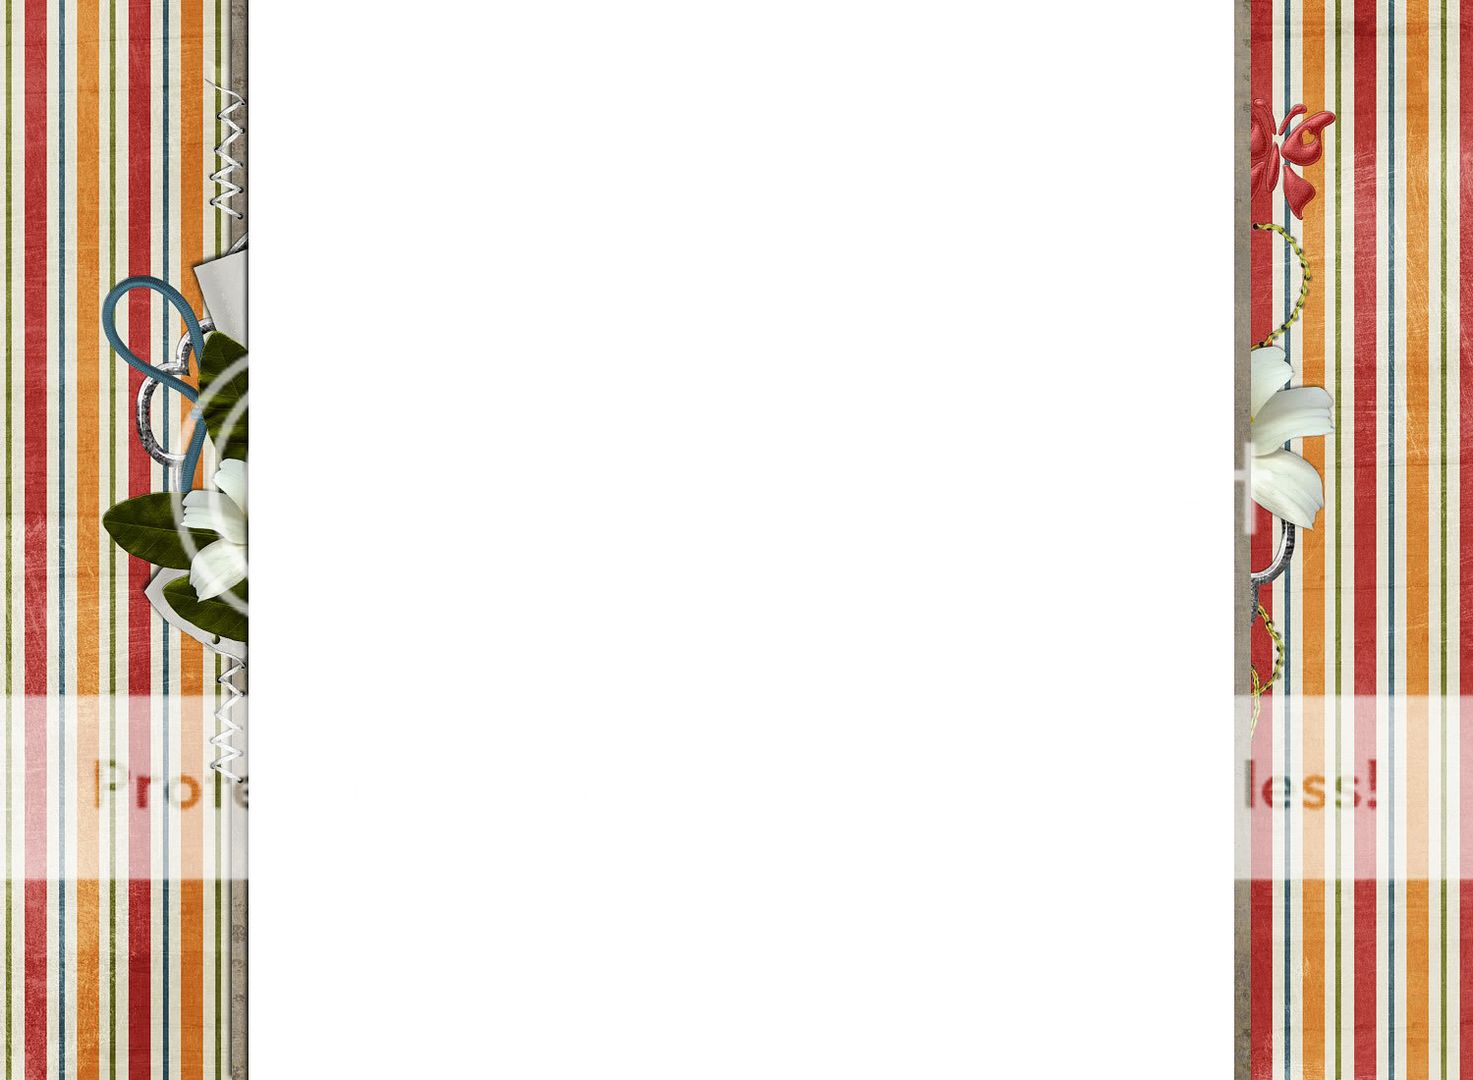
Monday, August 17, 2009
Today's blogwear comes from my "Ramona and Her Sisters" kit, which can be found HERE.
I design under the design name "Ramona the Pest", and I created this kit to kick off that new design name! It's become one of my favorites. I find myself scrapping a lot with this kit, just because of the neutral colors. I figured it would make a great blog wear!
Background: (copy & paste the code under the preview into your "Add a Gadget/HTML"
Two Column:
Three Column:
Header:

Tag:

Siggy Line

Download HERE
I design under the design name "Ramona the Pest", and I created this kit to kick off that new design name! It's become one of my favorites. I find myself scrapping a lot with this kit, just because of the neutral colors. I figured it would make a great blog wear!
Background: (copy & paste the code under the preview into your "Add a Gadget/HTML"
Two Column:
Three Column:
Header:
Tag:
Siggy Line
Download HERE
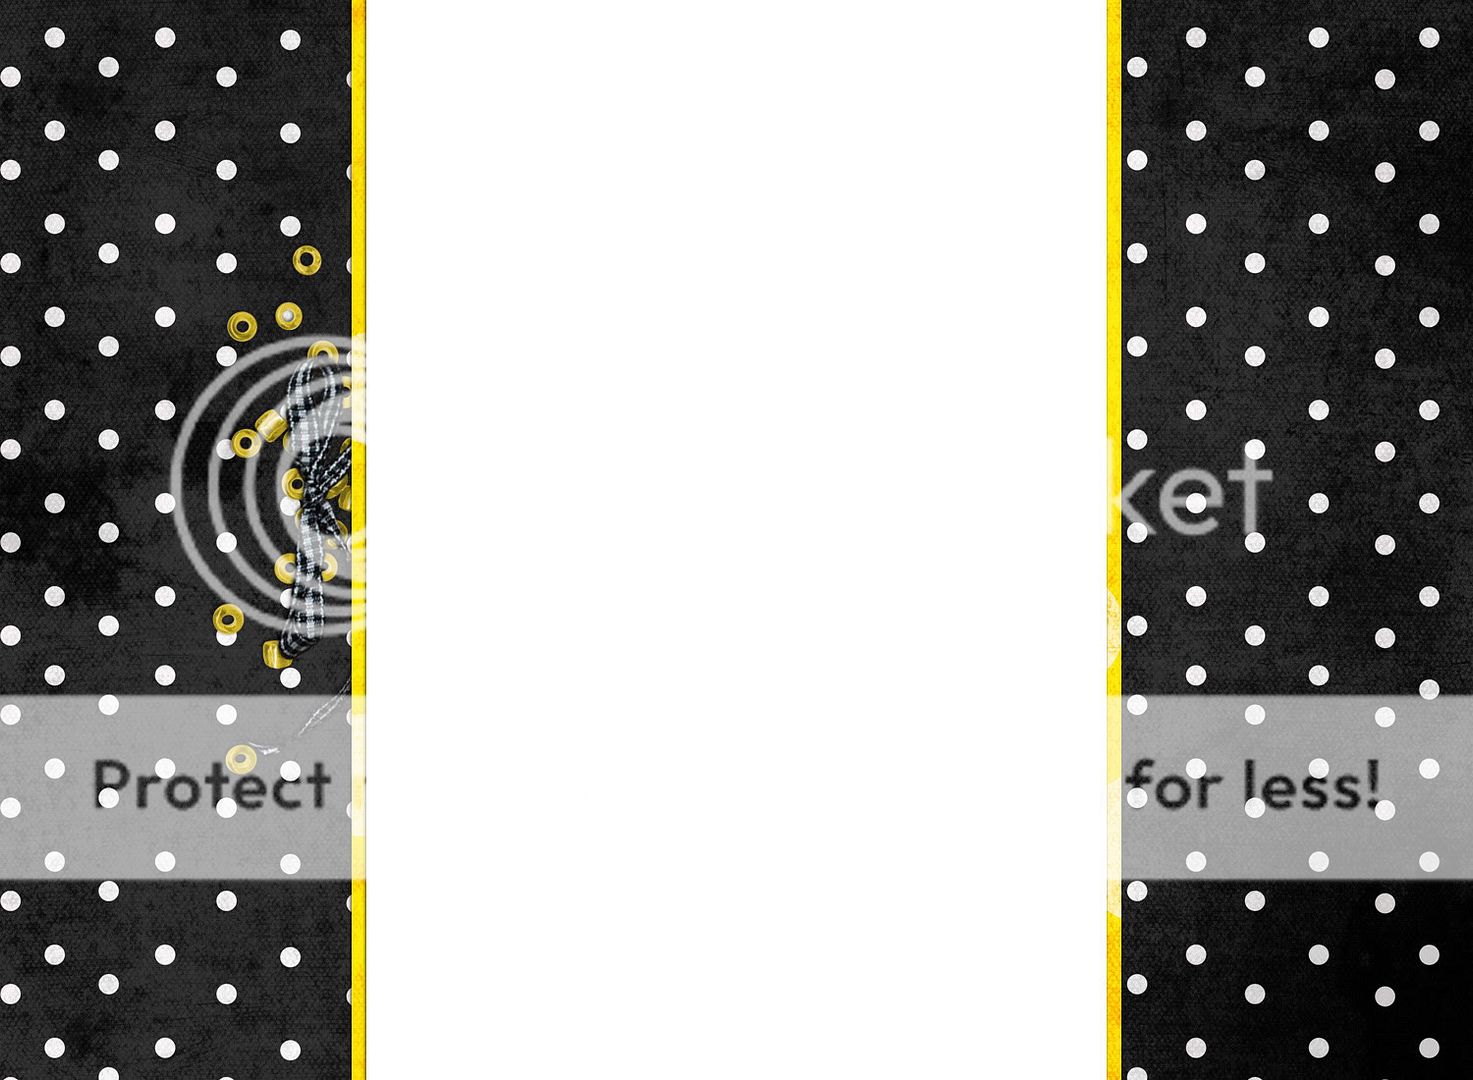
Sunday, August 16, 2009
Love of Honey
This is my very first set of blog wear! I'm so excited to start this blog and share a new set daily (or close to it) This kit is a mini kit which I designed for our Birthday Bag at Brownie Scraps. It is available for sale (along with 30 other products inside) for only $5.00 through August 31st!

Code for 2 Column background:
Code for 3 Column background:
Header:

Tag:

Siggie Line:

Download HERE
Code for 2 Column background:
Code for 3 Column background:
Header:
Tag:
Siggie Line:
Download HERE
Instructions for Adding Header and Tags
With each background, I have created a header that you may also use to coordinate! You will want to download these to your computer, unzip and add your name, pictures or anything else to make it your own.
1. Once you have personalized your header, save it on your hard drive.
2. Go to Customize and edit in the header section.
3. Click on "From Computer" and find where you saved the header. You will also want to click the button that says "instead of title".
4. Once it pulls it up, you can press Save and your header will be in place!
5. For your tag, title them whatever you want, save them and upload them to a place like photobucket.
6. Input the html code in the "add gadget/html" box in the customization section of your blog.
Instructions for Adding Background
Adding the background:
You need to set your template to MINIMA (you won't lose your widgets). However, if you have your blog set up for a 3 column, setting your template to minima would most likely lose the changes you made to the template to give it 3 columns.1. Go to dashboard and click "Layout"
2. Click "Add a Gadget"
3. Find "HTML/Java Script" and click the plus sign
4. It should say Configure HTML/Java Script. In the large white box, paste the HTML code provided with each background. **Choose which column template you have and copy/paste the code)
Welcome and my TOU
I love to design and create, especially if it is anything on the Internet! I also love to blog! I love reading other's blogs, especially family and friends. I think it is an amazing way to record the daily moments and keep in touch! I also love designing digital scrapbook kits and elements. I'm very passionate about everyone telling their own story! In combining my love of these things, I decided to start a blog (one of like 10 that I keep!) to give away blog wear for FREE! These are all created from my designs and kits I've made, so if you see something you like, the links will be in each post of where the actual kit can be found.
I'm offering these for free and just ask that you give "Home Baked Blogs" credit, if you use them! In fact, you would be one of my favorite people ever if you would wear my blinkie, to help spread the word! I also love comments, so if you are enjoying my blog wear, please let me know!
Please do not use these backgrounds for any purpose other than what they are intended for, don't claim them as your own work of art or offer them for download elsewhere! Just send them here to pick out their own favorite!
Also, feel free to email me at ramona@browniescraps.com and link me with your blog so I can see how it looks! Thanks again for using Home Baked Blogs!
Enjoy!
Saturday, August 15, 2009
Subscribe to:
Posts (Atom)


